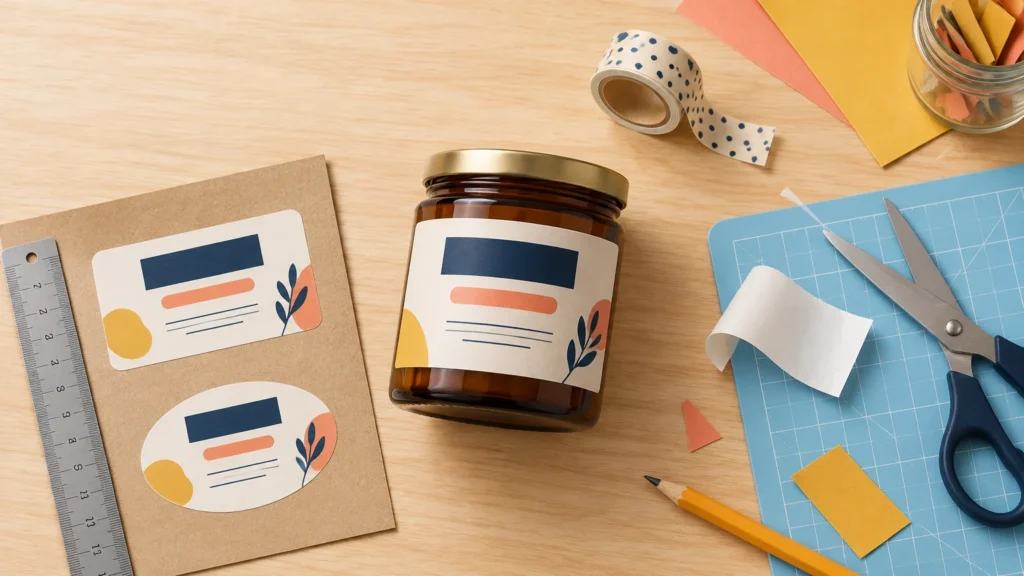
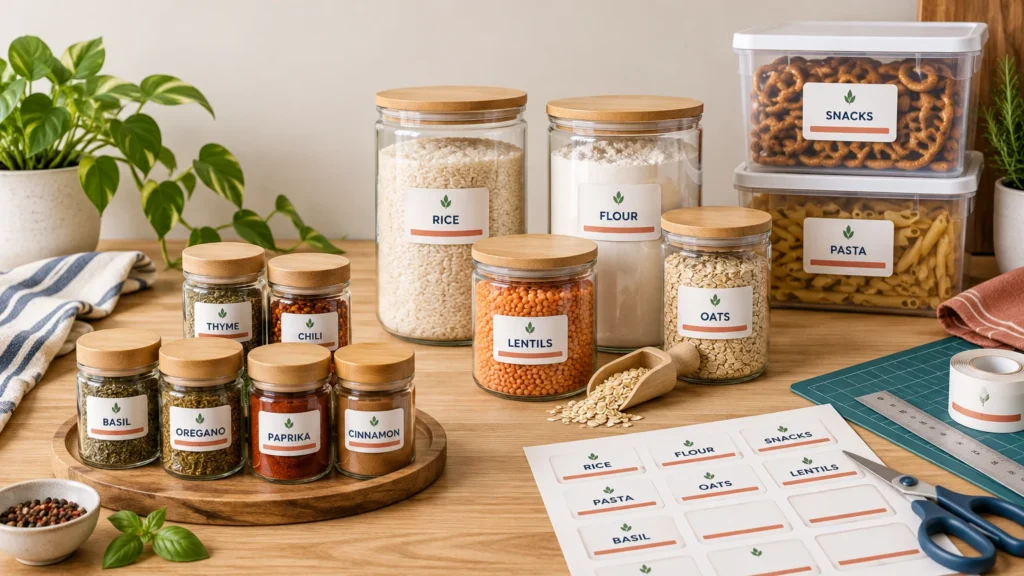
The simplest answer is this: labels usually identify, organize, or provide information, while stickers usually decorate, promote, or express an idea. That is a useful shopping distinction, not a strict material rule. Both can be made from paper, vinyl, or film; both can have permanent or removable adhesive; and both can arrive on sheets, rolls, or individual backings.
So, do not choose based on the product name alone. Choose based on the job. A pantry jar needs readable information and an adhesive suited to its surface. A laptop sticker needs a durable finish and a shape that works as a standalone graphic. Those projects may use similar production methods, but they ask the finished piece to behave differently.
TL;DR: Choose the job before the name
- Choose a label when the main purpose is identification, instructions, pricing, organization, or packaging.
- Choose a sticker when the main purpose is decoration, branding, promotion, gifting, or personal expression.
- Use paper for clean, economical indoor projects that will stay dry.
- Consider film or vinyl when flexibility, moisture resistance, or tougher handling matters.
- Match the adhesive to the surface and decide whether the piece should stay permanently or peel away cleanly.
- Check the exact material specifications instead of assuming every product called “vinyl” is waterproof or every product called a “label” is temporary.
What the words “label” and “sticker” really tell you
The distinction is mostly a product-format convention. In its labels-versus-stickers explanation, Avery describes labels as products commonly used to identify packaging, bottles, and goods, often supplied on sheets or rolls. Stickers are more commonly treated as individually cut promotional or self-expression pieces. The company also notes that the two categories can share materials, adhesives, and production equipment.
That overlap explains why one printed circle can plausibly be sold as a product label, logo sticker, envelope seal, or party-favor sticker. Its name changes with its intended use. The physical requirements may change too, but they do not have to.
| Decision | A label is usually the better fit | A sticker is usually the better fit |
|---|---|---|
| Primary purpose | Identify, organize, instruct, price, or describe | Decorate, promote, reward, or express |
| Typical projects | Jars, storage bins, product packaging, folders, bottles | Laptops, notebooks, giveaway packs, windows, craft projects |
| Common format | Sheets or rolls for repeated application | Individual die-cut pieces or kiss-cut sheets |
| Design priority | Fast reading and consistent placement | Strong visual shape and standalone artwork |
| Removal | Permanent or removable, depending on the workflow | Permanent or removable, depending on the surface |
| Material | Paper, film, or vinyl selected for the environment | Paper, film, or vinyl selected for the environment |
Start with the environment, not the artwork
Before choosing colors or a cute shape, picture where the finished piece will live. Will it stay in a dry cupboard? Sit on a refrigerated bottle? Be handled by children? Face sunlight, splashes, oil, or repeated washing? A lovely design cannot rescue a material that was wrong for the setting.
Paper is often a sensible starting point for dry indoor organization, address labels, party bags, and short-term packaging. For damp or heavily handled projects, examine the supplier’s exact resistance claims. Avery distinguishes between water- and oil-resistant paper that can tolerate splashes or rinsing and waterproof materials that can be submerged. Those terms are not interchangeable.
A laminate can add another protective layer, but it does not make every project indestructible. Cricut’s Printable Waterproof Sticker Set instructions describe a two-layer system using printable vinyl and a laminating sheet. Cricut calls the finished stickers waterproof and UV protective, yet still recommends handwashing because dishwasher heat and detergents may shorten their life.
For a homemade dry-storage label, plain printable stock may be enough. For a frequently handled bottle or outdoor promotional piece, look for a product specifically rated for that environment. If you need a consistent batch without managing printing, cutting, and finishing yourself, professionally produced custom stickers and labels can simplify that production step.
Match the adhesive to the surface
Permanent versus removable is a more useful distinction than label versus sticker. Permanent adhesive suits packaging, equipment identification, and long-term storage systems. Removable adhesive makes more sense for temporary event signs, rotating classroom bins, seasonal organization, or anything that should return to its original state without a sticky cleanup.
The surface matters just as much. According to 3M’s adhesive-selection guidance, environmental conditions, surface characteristics, appearance, and performance requirements all affect adhesive choice. Pressure-sensitive adhesive also needs good surface contact, which can be influenced by contaminants, application pressure, time, and temperature.
Curves and textured surfaces reduce the contact area available to the adhesive. Flexible vinyl or film may wrap a curved bottle more easily than stiff paper, but the adhesive still needs to be compatible with the container. Some low-surface-energy plastics, including certain polyethylene and polypropylene surfaces, can require suitable adhesive chemistry. When the project matters, test one finished piece on the real container before producing the whole stack.
Design labels for reading and stickers for recognition
A functional label needs a clear reading order. Put the most important detail first: the product name, child’s name, storage category, flavor, date, or instruction. Keep secondary information smaller, but not so tiny that it disappears after printing. A beautiful script font is delightful on a wedding favor and maddening on a freezer container if nobody can read it at a glance.
Stickers can lean harder into silhouette, color, illustration, and personality. Their outer shape becomes part of the design, especially when they are individually die-cut. If finish is the main creative decision, this guide to matte versus gloss stickers compares writable, low-glare surfaces with shinier finishes that make colorful artwork pop.
Format affects the workflow too. Kiss-cut pieces stay on a shared backing, which is convenient for sheets and repeated peeling. Die-cut pieces are cut through the backing into individual shapes. Cricut’s Sticker tool supports both approaches with selected printable materials, although Cricut notes that compatible settings are tested and unsupported materials are not guaranteed to produce the same results.
Check your printer before buying printable stock
“Printable” does not automatically mean compatible with your particular machine. Cricut specifies that its Printable Sticker Paper is for inkjet printers, for example, while individual printer manufacturers may exclude some adhesive-backed media. Canon lists adhesive-backed label-seal paper as unsupported for at least one PIXMA model while separately identifying certain Canon photo-sticker products.
Check the material package and your printer’s supported-media documentation before loading a full sheet. Then print one test page at actual size. If you are new to the process, the homemade sticker workflow covers basic printing, cutting, and optional durability upgrades without turning the craft table into a tiny manufacturing crisis.
Apply either one like you mean it
Clean application makes labels and stickers look intentional. Remove dust, grease, and moisture first. On a bottle or jar, begin near the center and smooth outward around the curve. On a flat surface, start at one edge and roll the piece down gradually rather than dropping the whole adhesive face at once. Avery recommends these methods to reduce wrinkles and trapped air.
For larger pieces, peel the liner back progressively. Do not touch more adhesive than necessary, and give the bond time to settle before washing, chilling, or heavily handling the item. If you are adding a clear protective layer at home, use a slow peel-and-smooth technique; the guide to laminating stickers without bubbles walks through that process.
The practical recommendation
Call it a label when information and repeatable placement drive the project. Call it a sticker when the graphic itself is the star. Then make the real decision by checking four things: the surface, the environment, the adhesive, and the production format.
For your next project, place one blank sample on the actual jar, notebook, package, bin, or bottle. Check whether it wraps cleanly, stays readable, removes as intended, and survives the conditions it will meet. That tiny test tells you far more than the word printed on the product package—and it can save an entire sheet of beautifully designed mistakes.
References
- Labels Vs. Stickers | Avery
- Compare Label & Sticker Materials | Avery WePrint™ | Avery.com
- Printable Waterproof Sticker Set Instructions – Help Center
- Substrate Surface Consideration for Adhesive Selection
- Solve Your Label Fails: How to Choose the Right Label for Every Surface and Application | Avery.com
- How to use the Sticker tool in Design Space – Help Center
- Printable Sticker Paper – Help Center
- Supported Papers – TS6520
- How to Apply Your Labels Perfectly | Avery