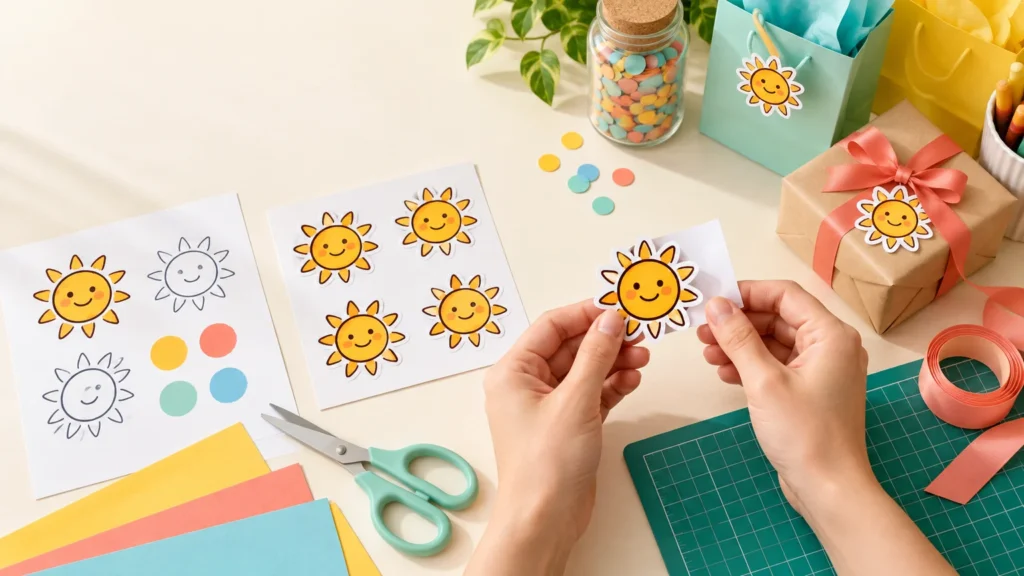
TLDR: The easiest way to learn how to make homemade stickers is to print simple designs on matte sticker paper and cut them out with scissors. Confirm that the paper matches your printer type, test one design before filling a sheet, and leave a white border to make cutting easier. Add laminate or switch to a supported printable-vinyl system only when the finished stickers need more protection from handling or occasional moisture.
Homemade stickers do not require a cutting machine, specialty software, or a tiny craft studio stocked like a stationery store. A compatible printer, one sheet of adhesive paper, and a good pair of scissors are enough for planner stickers, party favors, envelope seals, classroom rewards, and decorative labels.
Choose the simplest sticker method for your project
Start by deciding where the sticker will go. A paper sticker tucked into a planner has a much easier job than a bottle label exposed to damp hands. Material choice matters more than adding fancy equipment.
| Method | What you need | Best for | Main limitation |
|---|---|---|---|
| Hand-drawn sticker paper | Full-sheet adhesive paper, markers, scissors | One-of-a-kind decorations, children’s crafts, quick labels | Hand coloring and cutting take time |
| Printed matte sticker paper | Compatible printer, sticker paper, scissors | Planners, envelopes, party favors, notebooks | Usually best for dry indoor use unless the product states otherwise |
| Printed sticker sheet with machine cutting | Compatible printer, supported cutting machine and material | Repeated shapes, sticker sheets, detailed outlines | Requires setup, calibration, and readable sensor marks |
| Printable vinyl with laminate | Compatible printable vinyl, printer, laminate, cutting tools | Labels that need a tougher surface | Performance depends on the complete material-and-ink system |
For a first project, I would choose matte printable sticker paper and scissors. Matte material is easy to write on, avoids the sensor complications associated with some reflective surfaces, and keeps the workflow focused on the enjoyable part: making a sheet of designs.
What you need to make homemade stickers
The basic supply list is pleasantly short. Check the packaging of every printable material before buying it; “printable” does not automatically mean compatible with every printer.
- A drawing, photograph, or digital design you are allowed to use
- Full-sheet matte sticker paper compatible with your printer
- An inkjet or laser printer that matches the material instructions
- Sharp scissors
- A ruler and craft knife for straight edges, if desired
- A clean, dry object or surface for application
- Optional: clear laminate, a cutting mat, or a compatible electronic cutting machine
Printer compatibility is one place where guessing can become expensive. For example, Cricut specifies that its Printable Sticker Paper is for inkjet printers and warns against putting that particular material through a laser printer. Its instructions also suggest feeding the sheets individually through a bypass tray or otherwise empty tray. Those directions apply to that product, not necessarily to every sticker paper, so follow the package made for your exact material.
Some materials use different combinations. Avery describes one removable film sticker product as water-resistant when printed with either a laser printer or a pigment-based inkjet printer. That is a product-specific claim and a useful reminder to evaluate the paper, printer, and ink together rather than treating “sticker paper” as a single universal material.
How to make homemade stickers step by step
1. Create bold, cuttable designs
Begin with shapes that will still look good after being cut by hand. Think cheerful fruit, stars, flowers, initials, simple animals, party icons, or short phrases. Tiny spikes, narrow gaps, and hair-thin lines can turn a relaxing project into an unwanted test of patience.
For hand-drawn stickers, sketch directly on the non-adhesive face of full-sheet label or sticker paper. For printed stickers, arrange your artwork in a document or design application. Leave space between designs so your scissors can turn without clipping the neighboring artwork.
Add a white or colored border around each design. A border hides small cutting wobbles and makes a mixed sticker sheet feel intentional. Beginners can start with designs roughly two to three inches wide; they are large enough to handle but small enough to fit several on one page.
2. Print a small test first
Do not send your most carefully arranged full sheet to the printer immediately. Print the design on ordinary copy paper first. Check its physical size, color, spacing, spelling, and distance from the page edges. Cut out one paper design and hold it against the intended notebook, jar, gift bag, or favor box.
Next, identify the printable face of the sticker paper using its packaging. If the two sides look similar, mark a piece of plain paper and run it through the printer to learn which side receives the image. Load one sticker sheet in the corresponding orientation.
Select the media type and quality recommended by the material manufacturer. Cricut recommends high, best, or photo-quality printing for its Printable Sticker Paper, but it also advises reducing the quality setting if excess ink causes smudging. Treat that as a troubleshooting direction for the named product rather than a universal setting.
3. Let the print settle before handling
Place the printed sheet on a clean, flat surface and avoid touching the artwork immediately. Drying behavior varies with the ink, printer settings, coating, and room conditions, so use the material manufacturer’s stated drying or handling time when one is provided.
If the first test smears, stop before printing more sheets. Confirm that you printed on the correct face, check the printer type, and compare your media and quality settings with the sticker-paper instructions. More ink is not always better.
4. Cut with scissors or a craft knife
For individual stickers, turn the sheet as you cut and keep the scissors moving in a smooth, comfortable direction. It is usually easier to rotate the paper than to twist your wrist around every curve. Leave a consistent border rather than trying to cut directly on the printed edge.
A ruler and craft knife can produce neat squares and rectangles, but use them only on a protective cutting mat. Keep fingers out of the blade path, and reserve this step for an adult when children are involved.
Individual stickers cut through both the face material and backing are often described as die-cut-style stickers. A kiss-cut sticker is different: only the sticker layer is cut while the backing remains intact, allowing the design to peel from a larger sheet. Electronic machines make repeated kiss-cut sheets convenient, but a careful adult can also create simple kiss cuts with a craft knife and very light pressure. Test on a scrap because cutting depth varies by material.
5. Prepare the surface and apply
Wipe away dust, crumbs, oil, or moisture before applying the sticker. Position one edge first, then lower the rest gradually and smooth outward. This gives you more control than dropping the whole adhesive face onto the surface at once.
Paper stickers are a natural match for planners, envelopes, notebooks, party favor bags, classroom charts, and other dry indoor projects. Do not assume they are suitable for food contact, wet locations, heated surfaces, or items washed in a machine unless the exact product documentation supports that use.
Optional: cut printed stickers with a Cricut
A cutting machine becomes useful when you want repeated outlines, a polished sticker sheet, or more copies than you feel like trimming by hand. Cricut’s Print Then Cut process prints the artwork with sensor markings. A compatible machine scans those markings before cutting around the designs.
Follow the current setup instructions for your machine and software rather than improvising the page layout. Keep the printed sensor area intact, place the sheet straight on the mat, and make a test cut before committing a full batch.
Material finish can affect this workflow. Cricut notes that high-gloss, dark, and holographic third-party materials can cause sensor-reading trouble on some machines. If sparkle is the entire point of your project, the detailed guide to making holographic stickers covers material-first planning and scan troubleshooting.
How to make stickers more resistant to handling and moisture
A clear laminate can shield printed artwork from rubbing and splashes, but it does not magically make every homemade sticker waterproof. The adhesive, printable film, laminate, ink, surface, and edge seal all influence the result.
Use a documented system when moisture resistance matters. Cricut’s Printable Waterproof Sticker Set, for example, combines inkjet-printable vinyl with a separate laminate. Cricut presents it for applications including bottles and outdoor labels, while still advising handwashing because dishwasher heat and detergent can shorten sticker life. It also notes that fading depends on the ink formulation.
That distinction matters: water-resistant, waterproof, weather-resistant, and dishwasher-safe are not interchangeable promises. Unless your exact material system explicitly supports dishwasher use, keep the sticker out of the dishwasher. For a child’s bottle or frequently cleaned container, check both the application guidance and any safety limitations provided by the manufacturer.
When applying a separate laminate, work slowly from one edge and smooth it across the printed sheet to reduce trapped air. Laminate before cutting so its edges follow the sticker shape. Simple rounded outlines are less likely to develop vulnerable corners than intricate shapes with lots of narrow points.
Quick fixes for common homemade sticker problems
- Smudged ink: Check that you used the printable face, compatible printer technology, and manufacturer-recommended settings. Allow the sheet to settle before cutting.
- Paper will not feed: Flatten curled sheets, load the recommended side correctly, and try a single sheet in the tray specified by the manufacturer. Never force adhesive material into the printer.
- Colors look wrong: Print on ordinary paper first, check whether draft mode is enabled, and remember that screen colors can differ from printed colors.
- Edges look uneven: Enlarge the border, simplify the outline, and rotate the paper while keeping your cutting hand in a comfortable position.
- Corners peel: Clean and dry the application surface, round sharp corners, and avoid surfaces or conditions the adhesive was not designed to handle.
- Machine cannot read the marks: Check the sheet alignment and lighting, clean the sensor as directed by the machine manufacturer, and investigate whether a glossy, dark, or holographic finish is interfering.
- Cut line is offset: Confirm the sheet has not shifted on the mat and follow the machine maker’s calibration procedure before wasting another page.
When should you order stickers instead?
Making stickers at home is ideal for prototypes, one-off crafts, tiny batches, and projects where handmade variation is part of the charm. It also lets you change names, colors, or party details without committing to a large quantity.
Ordering becomes attractive when you need repeatable cuts, many identical pieces, or a finish your home setup cannot reliably produce. If you are deciding between a home machine and a larger run, this comparison of Print Then Cut and professional stickers for 100 pieces breaks the decision into labor, finish, and repeatability.
For a repeat quantity or consistently cut result, you can also compare options for professionally produced custom stickers rather than buying more tools for a single project. Home production and professional printing solve different problems; choose according to quantity, finish, deadline, and how much hands-on making you actually want.
Your best first sticker project
Make one small sheet with four to eight bold designs. Use matte sticker paper compatible with your printer, leave generous space and a forgiving border, print a paper proof, and cut the final pieces with scissors. Put them on a notebook, card, favor bag, or dry storage bin where ordinary paper stickers can do their job comfortably.
After that first sheet, upgrade only the part that is limiting you. Add laminate when a supported material system needs more protection, use a cutting machine when repeated outlines are consuming too much time, or order a production run when consistency matters more than the pleasure of making every piece yourself. That is the sweet spot of homemade stickers: start simple, see what the project needs, and make the next choice on purpose.