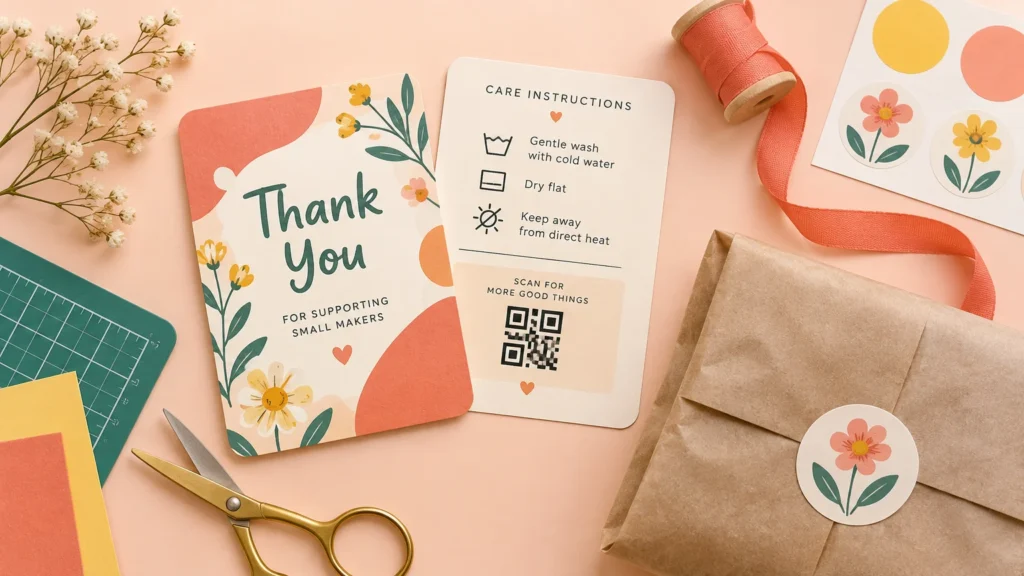
TLDR: Build your DIY folded thank you card template as an 8.5 × 5.5-inch landscape spread with a vertical score line at 4.25 inches. Place the back cover on the left and front cover on the right of the outside spread. Duplicate that layout twice on one US Letter sheet, print and proof both sides before cutting, then cut the sheet at 5.5 inches to produce two 4.25 × 5.5-inch folded cards.
The tricky part is not drawing a cute flower or choosing a friendly typeface. It is making sure the front, back, and inside panels land in the right places after the paper passes through the printer and folds. This DIY folded thank you card template uses a simple side-fold format, plus a proofing routine that catches upside-down interiors before they consume your good cardstock.
Start with one dependable card size
A US Letter sheet measures 8.5 × 11 inches. Cut across its 11-inch length at 5.5 inches and you get two pieces measuring 8.5 × 5.5 inches. Score each piece down the middle at 4.25 inches, and each one folds into a 4.25 × 5.5-inch card.
The finished card is portrait-oriented and opens like a book. This is a wonderfully practical format for teacher gifts, customer thank-yous, party hosts, wedding helpers, and little notes tucked into packages. It also avoids leftover strips because the Letter sheet divides cleanly into two cards.
| Stage | Width × height | What to mark |
|---|---|---|
| Full Letter sheet | 8.5 × 11 inches | Horizontal cut line at 5.5 inches |
| Each flat card | 8.5 × 5.5 inches | Vertical score line at 4.25 inches |
| Each folded card | 4.25 × 5.5 inches | Front, back, and two inside panels |
These measurements are for US Letter paper and a vertical book-style fold. Do not reuse the same panel arrangement for a top-fold card or resize it to A4 without rebuilding and proofing the layout.
Map the front, back, and inside panels
Create two landscape pages in your design software: one for the outside and one for the inside. Each page represents one open, flat card measuring 8.5 × 5.5 inches.
| Spread | Left panel | Right panel |
|---|---|---|
| Outside | Back cover | Front cover |
| Inside | Inside-left panel | Inside-right panel |
When you look at the outside spread upright on screen, the back cover belongs on the left and the front cover belongs on the right. This can feel backward while designing, but it becomes correct when the right panel folds over to form the front.
Keep the center line as a nonprinting guide at 4.25 inches. On the front, use one clear greeting, such as “Thank you,” plus a small illustration or border. The inside-right panel is the natural home for a printed message or handwriting area. The inside-left panel can remain blank or carry a quiet decorative detail. A small credit, logo, or matching motif can sit on the back.
For a handwritten card, resist filling every panel. A tiny front motif, a blank interior, and one matching back-cover detail can look more polished than a layout packed with decorative elements.
Build the two-up Letter sheet
Once one flat card is designed, place two copies on a portrait-oriented 8.5 × 11-inch page. One copy occupies the top half and the other occupies the bottom half. Add a nonprinting horizontal guide at 5.5 inches to show where the cards will be separated.
Repeat that arrangement for the inside page. The two copies must stay in exactly the same positions as their outside counterparts. Do not manually nudge one side to make it “look centered” unless you apply the same measured change to both pages.
For home printing, I would keep important text and artwork at least 0.25 inch away from the outer sheet edges, the future cut edge, and the score line. That is a conservative working allowance rather than a universal printer specification; printable areas vary by model. Give a handwritten message even more breathing room near the fold.
Set up the DIY folded thank you card template in Canva
In Canva or similar software, create a custom Letter-size document and turn on rulers, guides, margins, and print bleed where available. Canva documents these controls and its PDF Print export on its margins, bleed, and crop marks help page.
- Create an 8.5 × 11-inch portrait page for the outside artwork.
- Add a horizontal guide at 5.5 inches.
- Build one 8.5 × 5.5-inch card spread in the top half, with the back on the left and front on the right.
- Duplicate the complete spread into the bottom half without changing its size.
- Duplicate the page to create the inside artwork, preserving every guide and position.
- Replace the outside panels with the inside-left and inside-right designs.
- Export the outside and inside as separate pages in a print-oriented PDF. Confirm that the print dialog uses the file’s actual size rather than automatically enlarging or shrinking it.
Guides should help you design but should not appear in the final artwork. If you want a cutting reference, add tiny trim ticks outside the important design area or measure the 5.5-inch cut directly with a ruler and paper trimmer.
Use borders at home and provider templates for professional printing
Most home projects are easiest with an intentional white border. A colored frame, corner motif, or centered illustration can look finished without requiring ink to reach the edge of the sheet. It also gives you some tolerance for small differences in feeding, cutting, and folding.
If artwork must run to the finished edge, printing on a larger sheet and trimming down is more dependable than assuming a home printer can produce full bleed. Check the printer manual before buying paper or planning an edge-to-edge design.
Commercial production is a separate workflow. Follow the selected printer’s template, safe-zone, bleed, crop-mark, color, and export requirements instead of applying one generic recipe. For example, one provider requests a 0.125-inch safe zone and a PDF at a minimum of 300 dpi, but those are that provider’s stated requirements rather than universal rules. If the card is part of a larger celebration suite, you can also explore custom invitation printing and plan the card colors, typography, and paper style as a coordinated set.
Proof the duplex orientation before using cardstock
There is no reliable “always choose this” duplex setting. Printer controls commonly distinguish between flipping on the long edge for book-style binding and flipping on the short edge for tablet-style binding, but the correct result depends on the document orientation and printer setup.
A one-sheet plain-paper proof is faster than trying to reason through every printer’s paper path. Use this routine:
- Print only the outside page on ordinary paper at actual size or 100% scale.
- Write “TOP” and draw an arrow on the leading edge before reinserting the sheet, unless the printer handles duplexing automatically.
- Print the inside page using the duplex option you expect to work.
- Cut the proof at 5.5 inches and fold both halves.
- Check whether the front is on the right, the interior is upright, and the top and bottom cards align.
- If the interior is upside down, change the duplex binding option or rotate the inside page 180 degrees, then make another plain-paper proof.
- Save the successful printer setting and feed direction with the master file.
If your printer does not support automatic duplexing, the marked arrow is especially useful. It records which edge entered first and which face was printed, turning a vague trial-and-error process into a repeatable test.
Print first, then cut, score, and fold
Keep the sheet intact until both sides are printed. A full Letter sheet is easier to feed consistently than two smaller card blanks, and the inside and outside copies remain registered to the same cut line.
Printer support for thick media is model-specific. Epson, for example, documents a rear-feed process for one sheet of cardstock on certain models and warns that overly stiff paper may not feed correctly. Check your own manual for accepted paper types, loading tray, thickness guidance, and duplex restrictions rather than assuming every cardstock will work.
- Print one final sheet and inspect both sides before starting a batch.
- Use a paper trimmer or craft knife and metal ruler to cut at 5.5 inches.
- Place each 8.5 × 5.5-inch piece outside-face down on a protected surface.
- Align a ruler at 4.25 inches and make a light score with a bone folder, scoring stylus, or another blunt tool.
- Fold gradually along the score instead of forcing the crease in one motion.
- Burnish the folded edge lightly, then confirm that the front and back align.
Use light pressure while scoring: the goal is to compress a fold path, not slice the fibers. Test the process on an offcut if the paper has a coated, textured, or dark printed surface. If the fold still cracks, reduce the pressure, try folding in the opposite direction on a test piece, or choose a stock better suited to your printer and folding method.
Quick fixes for common folded-card problems
The front appears on the back
Return to the outside spread. For this side-fold layout, the back panel should be on the left and the front panel on the right. Do not swap them to match how the closed card looks.
The inside is upside down
Change the long-edge or short-edge duplex option and run another plain-paper proof. If you are manually reinserting the sheet, use your top arrow to identify whether the paper needs to be turned or flipped.
The printed card is smaller than the design
Look for “Fit,” “Shrink oversized pages,” or a similar automatic scaling control in the print dialog. Select actual size or 100% when your printer can accommodate the design’s margins, then measure the proof before using cardstock.
The printer refuses the cardstock
Stop rather than repeatedly forcing the sheet. Confirm the supported media and loading path in the model’s manual. Try the designated rear or manual feed only when the manufacturer specifies it, or move the project to a suitable printer or professional service.
A cutting machine cannot read the registration marks
Reflective, glossy, glitter, embossed, and metallic surfaces can interfere with Print Then Cut sensors. Cricut recommends test cuts when results are uncertain and identifies several challenging material finishes. For a simple rectangular card, a paper trimmer and scoring tool may be quicker and more predictable than a sensor-based workflow. If you are deciding when automated cutting is worthwhile, the same setup-versus-production tradeoff appears in this comparison of Cricut Print Then Cut and professional production.
Make one proof, then save the successful master
Your first goal is not a stack of twenty cards. It is one plain-paper proof with the correct front, back, inside orientation, cut position, scale, and feed direction. Once that works, print a small batch of two to four cards on the chosen stock and check the fold before committing more materials.
Save the confirmed outside and inside pages as a reusable master. Next time, you can change the colors, greeting, or little illustrated motif without rebuilding the production layout. That one tidy template can become birthday thank-yous, teacher notes, customer cards, or party follow-ups—with no surprise upside-down message waiting inside.
References
- en.wikipedia.org
- Folded Card Orientation Guide | We Print Your Design – Cardstock Warehouse
- Use margins, bleed, rulers, and crop marks – Canva Help Center
- Professional Printing Services | We Print Your Design – Cardstock Warehouse
- Print on both sides of the paper with an HP printer | HP® Support
- Loading Paper in the Rear Paper Feed Slot
- Print Then Cut – Compatible Materials – Help Center